Topic: Cinematography
So, my day job is a camera operator, and I'm looking to move towards doing more cinematography. That said, I think I know a little bit about the subject, and I'm writing a little walkthrough of how I go about lighting sets. Most my techniques were learned form other cinematographers, so it's not really all my ideas.
First things first. Set up the shot. I chose a couple of dwarf soldiers in front of their mine. I also wanted to give this an early morning feel, so I dialed in the look in my camera (DVX). Don't worry if you can't do this, I just did it to help me get a better idea of the look.
There are pretty much 3 steps I follow in order to light a shot: Expose, Identify the Source, and Tweak.
That last step always takes the longest, because you could theoretically tweak forever. But a good cinematographer is quick and knows when he's done.
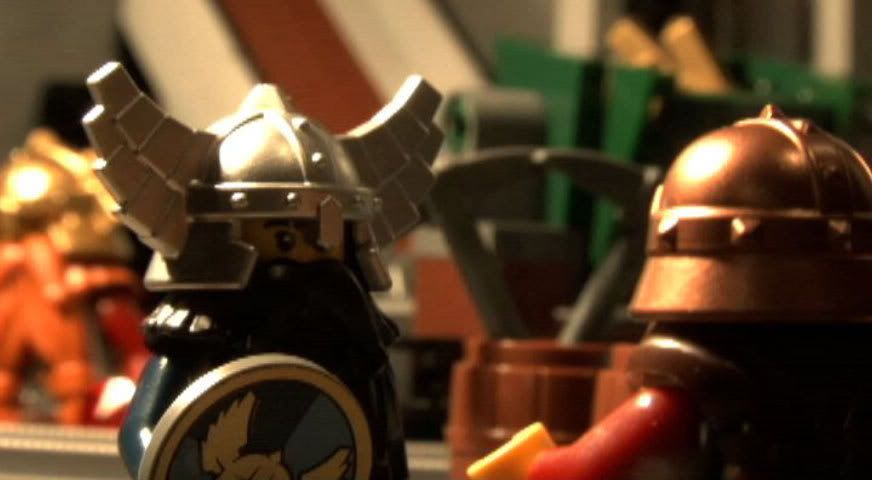
So the first step is to expose. We want even, flat light, and we want people to look at the image and say: "OK, they can set the exposure." I turned on the overhead lights in my room for that.
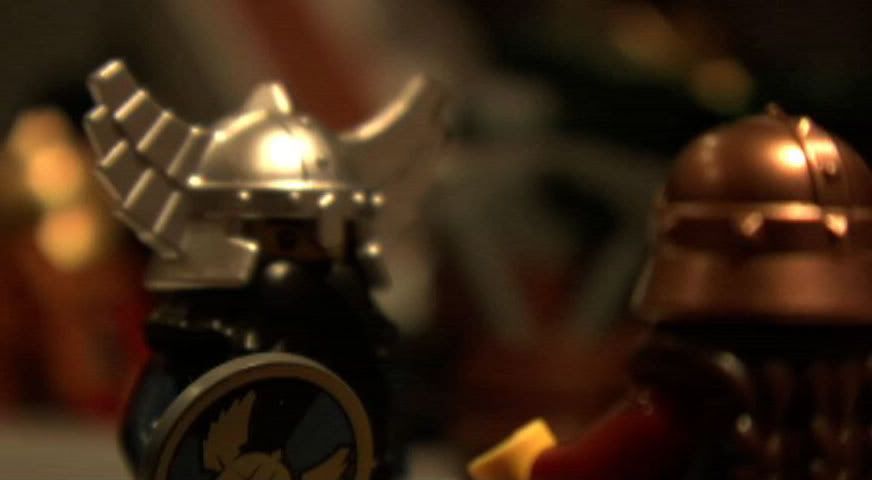
You'll notice it creates a really flat, boring image. But it is exposed, so mission accomplished.
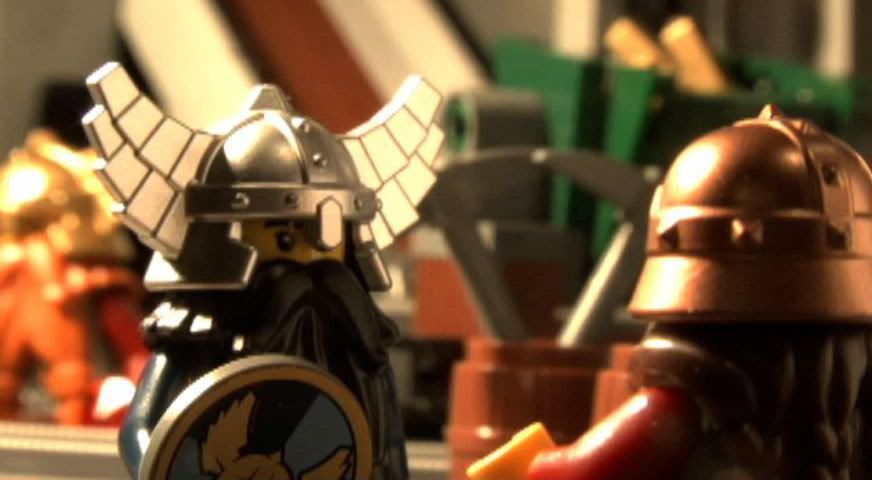
Step two is to identify the source. I used a table lamp for that.
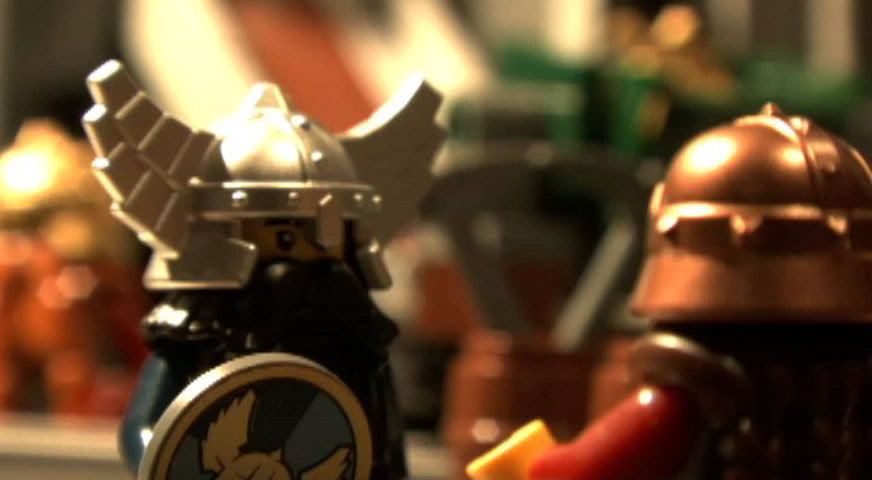
Just set overhead, the shot is boring. It looks like high noon, and as I said, I want an early morning look. Sol I lowered it closer to the set.
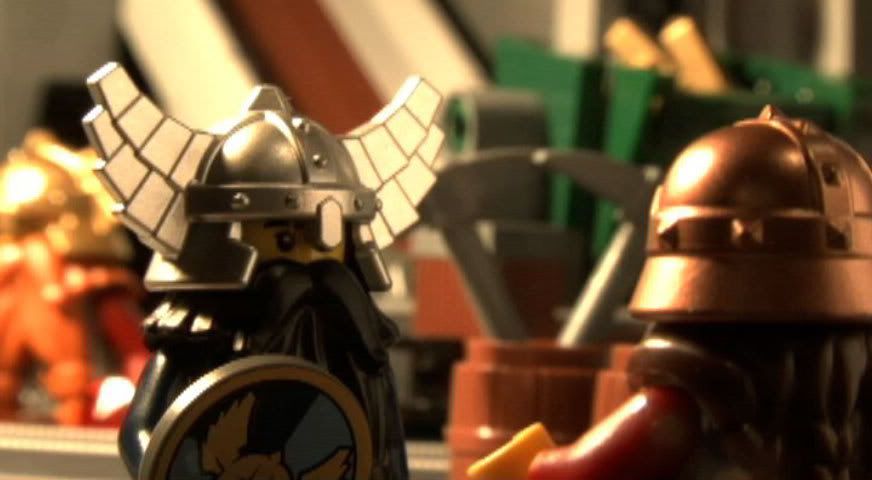
(Sharp eyed viewers will also notice that I was able to close the iris, making the background not quite as out of focus as before) Already we're now looking pretty good. But we're not done.
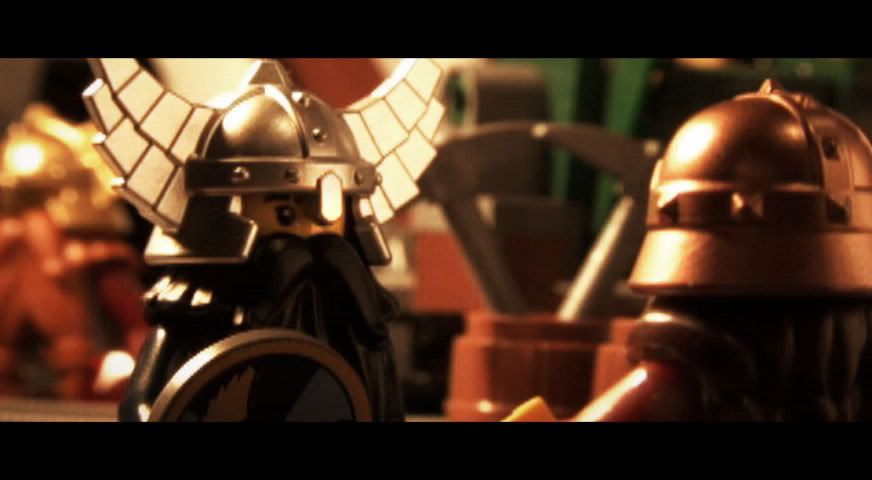
Step three is to tweak. As I said, tweaking can take a long time, so practice just knowing what you're going to do before you do it. I can look at the previous image and say I want three things: bounce, softer light on our subject, and cutting down the background.
I work for a company that owns a 3 ton grip truck so I'm pretty familiar with all the tools used by the grips on a set, so I set out to create my own lego grip equipment. I was feeling lazy so I didn't want to drive to the hardware store and buy anything, so I just used what I could find at home. The four things I made were a silk, bounce card, smaller flag and larger flag. I plan on making a scrim at some point, but that'll require a little creative thinking.
A silk is pretty much a diffuser of light. I used a paperclip taped to a lego brick, and scotch tape as my actual diffuser.
A flag is completely solid, black blocker of light. You can use it to cut the light in certain areas drastically. I did the same thing as the silk, but instead of scotch tape, I used a piece of black posterboard.
A scrim is a net that cuts the light not fully like a flag, but partially. I haven't made a lego one of these yet, but I'm working on it.
A Bounce card is a white card that reflects or bounces diffused light wherever you want. I used a piece of white paper.
On to tweaking the light.
First things first, I bounced the light back on the subject.
Wow. It's like a second light source. This is why when you animate, you should be wearing black. Anyways, it did what I wanted it to do, filled in the darker side of the subject with a soft light that doesn't seem to really come from anywhere. You don't want contradictory sources.
Next I wanted to diffuse the light on my subjects a little bit. Being plastic, they're really specular. So I want to make it a little less harsh and a little more organic.
Nice. It's subtle, but effective.
Lastly, That background is too distracting. I want to cut down on the light hitting my dwarf king. So I flag him and more of the background off. Since it was early morning, I put it closer to the ground like it was an object that the sun was peaking over.

I call that done. In the color grade I can add a eyelight and make it more morningish. I've also reframed and cropped to it's final aspect ratio. I urge you to try to find a color grading program. I don't know whats out there on the free side, I use AE and Color since I already have them from work.
Voila. A much more interesting shot. I hope you can use these techniques and apply them to whatever shots you have. I didn't go out and buy anything special. I used stuff I found around the house. Go out and be creative!